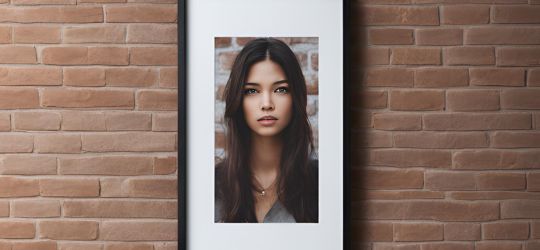
by Oliver Lonergan | Apr 18, 2024 | Uncategorized
Brick walls are known for making a space appear more rustic, industrial, and charming – particularly in homes. However, the uneven texture and hard composition of bricks can make it hard to securely hang pictures, artwork, and frames. Can You Hang Pictures and...
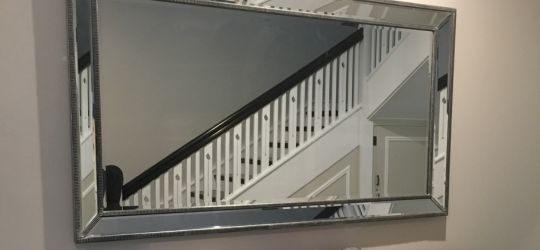
by Oliver Lonergan | Mar 8, 2024 | Uncategorized
Large mirrors can enlarge smaller areas in the home by creating the illusion of more space. However, they come with a significant challenge — their sheer weight of large, quality mirrors often makes it difficult to get them hung up on the wall. If not hung properly, a...
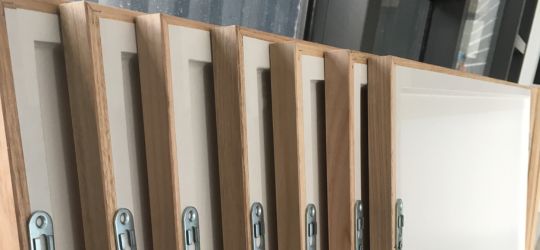
by Oliver Lonergan | Feb 13, 2024 | Uncategorized
When it comes to hanging a valuable work of art or a treasured picture, the way it’s framed can make all the difference in how it is displayed, shared, and appreciated. There are hundreds of different frame options on the market – but there are two main options...

by Oliver Lonergan | Jan 11, 2024 | Uncategorized
Looking for a way to hang your artwork or pictures without damaging them or your walls? We’ve got expert tips to help you hang them safely and securely. Read on to find out more! So you’ve got some pictures or artwork that would look great on your wall. The only...
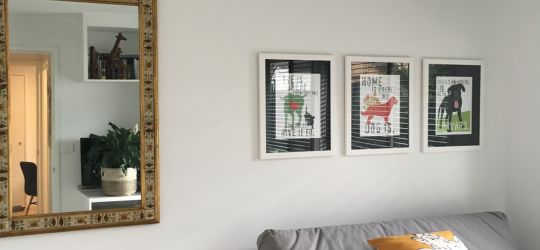
by Oliver Lonergan | Dec 7, 2023 | Uncategorized
Hanging pictures and artwork in small spaces and apartments presents a unique set of challenges. From curating the best possible layout, to showcasing key pieces, to utilising the space to ensure your artwork and pictures don’t encroach on the space and make things...
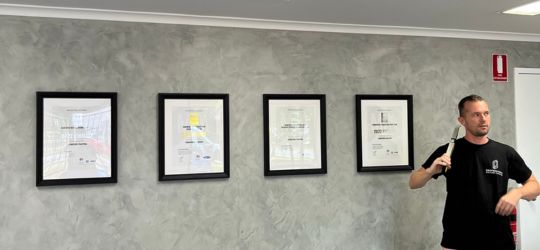
by Oliver Lonergan | May 1, 2023 | Uncategorized
Your certificates aren’t just pieces of paper — they’re enduring testaments to your achievements and milestones. Display your certificates on a wall as a reminder of your accomplishments, adding personality and professionalism to your wall space. This guide will...
