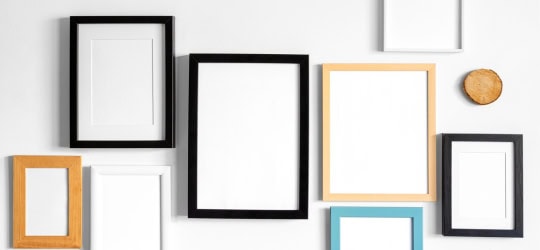
Hanging pictures and art on the wall can make a space feel more personalised, cosy, and homely. However, hanging pictures can be a daunting and damaging process – especially when using nails to hang the pictures or art. When you use nails to hang pictures, it becomes...
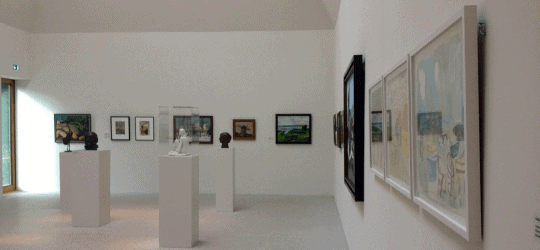
Picture hanging rails are not new – but are becoming the new standard for displaying art, whether in the home, in an office, or in an art gallery. Unlike other types of picture-hanging methods, picture rails allow the placement of artwork in a space to be easily...
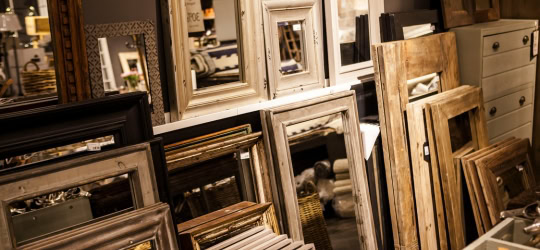
When it comes to choosing a picture frame to display a photo or artwork, the myriad of options online can make the process of finding the ideal frame tedious and overwhelming. Different types of picture frames can also vary in terms of size requirements — some frames...
Acrylic vs. Glass – which is better for picture frames? If you’re looking to hang artwork or pictures, then you might have found yourself at a crossroads with choosing between glass and acrylic picture frames. To understand the use case of each, the pros and cons, and...
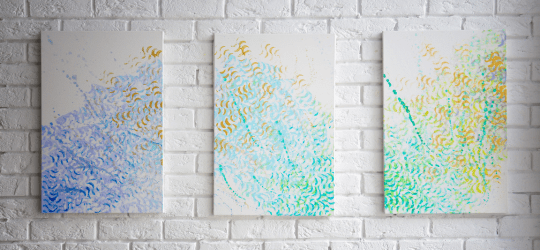
When it comes to choosing what kind of art to collect and subsequently hang in your home, there’s more to it than you would think. Art curation is a delicate process – one that can take experience, skills, and years on the job to master. Creating a cohesive...
The cost of a custom picture framing service can range between $100 to $500, or potentially even higher, depending on what you are after in terms of size, material, and the type of artwork/picture you need framed. Considering that the price of off-the-shelf picture...