
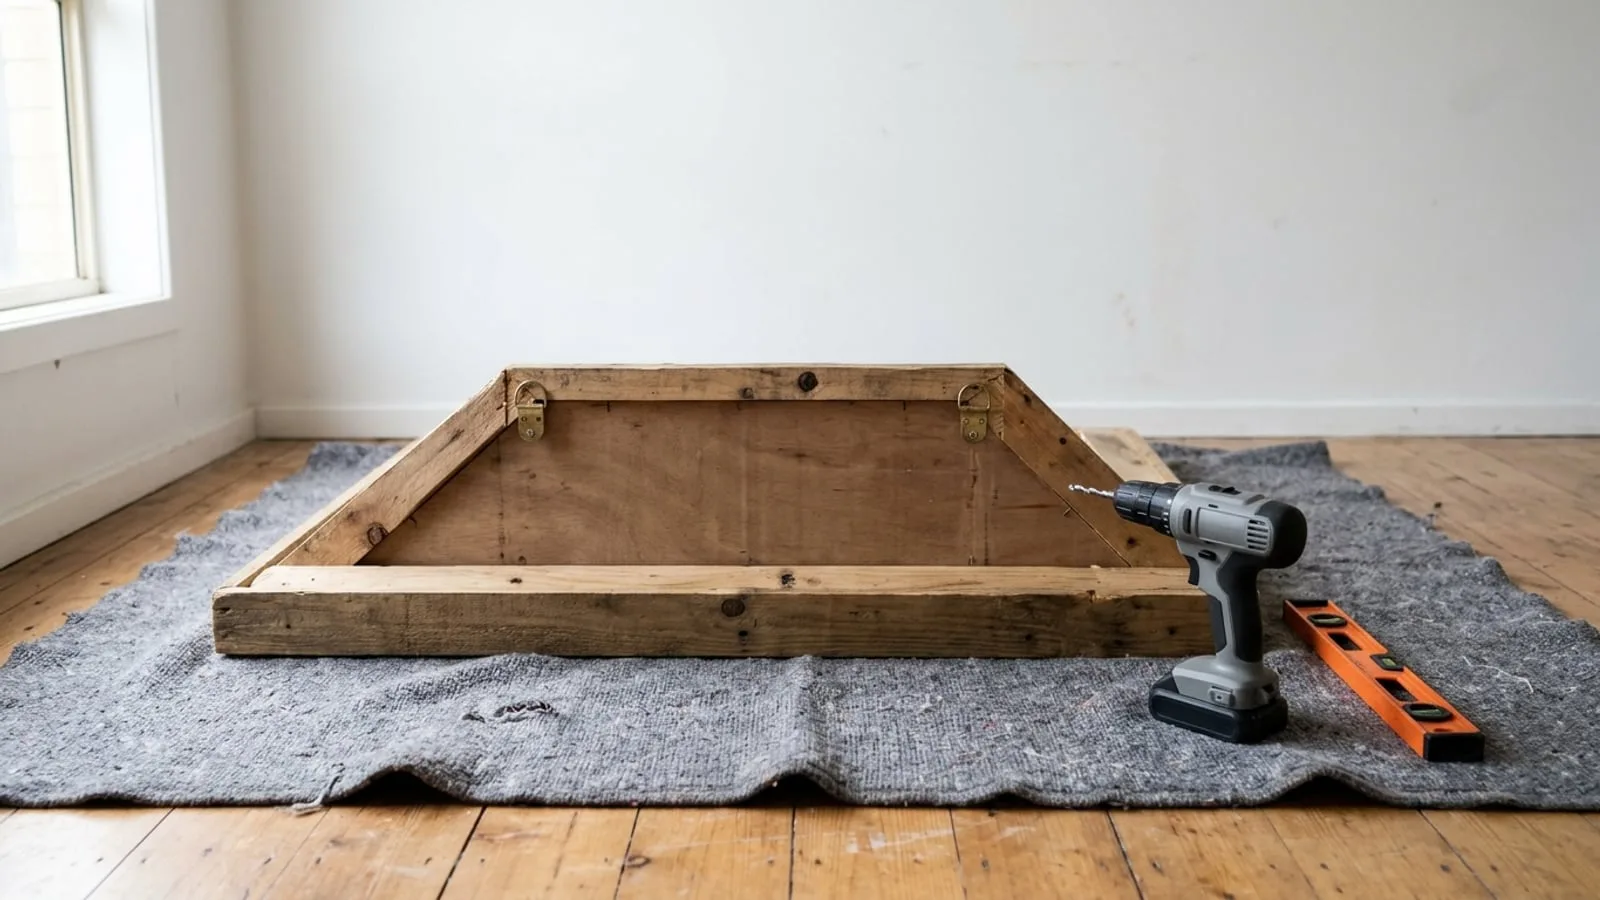
To hang heavy artwork safely, weigh it first, hang it from two fixing points instead of one, and choose fixings for whatever is actually behind the wall. On plasterboard that means screwing into the frame behind the sheet, and on brick, block or concrete it means drilling and plugging the masonry. Big pieces also need a second person for the lift.
If a large canvas has been leaning against a wall since you moved in, a quiet winter weekend is a sensible time to work out how it goes up. Most of the work needed to hang heavy artwork happens before the drill comes out, and that planning is what keeps the piece level and on the wall for years.
Weigh the artwork and check its hanging hardware
Guessing the weight is where most problems start. Stand on the bathroom scales holding the piece, then weigh yourself without it, and the difference is close enough for choosing fixings. Write the weight on a piece of masking tape on the back for next time.
Then turn it over and look at the hardware. Large framed works usually have a D-ring screwed into each side of the frame, sometimes with a wire strung between them. Check that the screws are tight and set in solid timber, and that any wire is not frayed or kinked. Hardware that looks undersized for the weight should be replaced before the piece goes anywhere near the wall.
Use two fixing points to hang heavy artwork level
A single hook under the middle of a wire lets a heavy frame tip whenever it is bumped, and it puts the entire load on one fixing. Two fixings, spaced apart and set at exactly the same height, share the weight and hold the frame square to the wall.
The simplest approach is to hang each D-ring on its own hook or screw rather than on the wire. Measure the distance between the D-rings and the drop from each ring to the top of the frame, transfer both to the wall with a spirit level, and check that each mark lands on something solid. For very wide or very heavy pieces, a timber or aluminium cleat fixed across several points spreads the load further.
A picture rail is not the answer for everything. Our picture rail systems take artworks of up to 15kg each, so anything heavier needs its own fixings into the wall.
Find out what your wall is made of
Knock on the exact spot you plan to use. A hollow sound points to plasterboard, which many people call gyprock, while a solid sound points to brick or concrete. A brick exterior tells you very little about the inside walls, so test rather than assume.
Older houses can mix materials in one room, and rendered or plastered masonry can hide soft or crumbling patches under the paint. If a test hole fills with fine powder and the bit suddenly pushes through into a void, stop and rethink the position before you go further.
Age matters for another reason. If the house was built, or last renovated, between 1945 and 1990, find out what any wall sheeting is made of before you drill, because the NSW Government’s asbestos advice points out that a job as small as hanging a picture can disturb asbestos.
Fixings that hold heavy art on plasterboard
Plasterboard is a gypsum core faced with paper, and on its own it is not the place to hang heavy artwork. Find a stud with a stud finder or a few small test holes, and fix into it with screws long enough to bite well into the timber or steel behind. Our guide to hanging pictures on plasterboard walls runs through the hooks and anchors that suit lighter frames.
Museums & Galleries of NSW makes a similar distinction in its installation tips for hanging 2D work: plasterboard screws and wall anchors for plain plasterboard, and plasterboard screws alone where there is backing behind the sheet. When the studs fall in the wrong place, that backing can be added.
A timber nogging fixed between two studs gives solid backing exactly where the hooks need to go. Plasterboard maker Siniat sells a timber nogging bracket for steel stud walls, and notes it can be used where wide timber noggings are needed behind the plasterboard to support face-fixed items such as towel rails, handrails and cupboards. A large artwork deserves the same support, and it is far easier to add while a wall is open during a renovation.
Fixings for brick, block, render and concrete
To hang heavy artwork on masonry, you need the right drill and plug. The MGNSW tips list a hammer drill for drilling into cement or masonry, and a wall plug and screw for brick walls and plaster. Match the bit to the plug size, drill to the depth the plug needs and clear the dust from the hole before tapping the plug in.
Render and old plaster can be softer or looser than the masonry behind them, so the plug should grip the solid brick or block rather than the surface coat alone. Concrete is the hardest of these to drill, and a blunt bit will wander off the mark, so start slowly and keep the drill square to the wall.
Check for cables before you drill
Heavy pieces tend to go on the biggest wall in a room, and that wall may have switches, power points or wall lights nearby. The NSW Government’s guide to avoiding electrical accidents says care is needed when sawing, nailing or drilling into walls near wiring, and that older types of wiring can become brittle.
Keep clear of the wall directly above and below switches and power points, run a cable detector across the area first, and stop if the bit hits metal you did not expect. If you are unsure, have a licensed electrician check the spot before you drill.
Lift heavy pieces with a second person
The lift is the riskiest part of the job. MGNSW’s advice is to consider your ability to handle the load and get assistance if in doubt, to make sure ladders are adequately supported at the base and never to set them up on slippery or soft surfaces. With two people, one lifts and holds while the other guides the D-rings onto the hooks and checks the level.
If a piece needs two people, our installers are happy, within reason and where it is safe, for you to act as the second pair of hands.
If you would rather leave the weighing, drilling and lifting to someone else, see our picture hanging services and send us the size, weight and wall type of the piece for a quote.